When you click on links to various merchants on this site and make a purchase, this can result in this site earning
a commission. Affiliate programs and affiliations include, but are not limited to, the eBay Partner Network.
Molotow Liquid Chrome Marker Test Versus Bare Metal Foil
Chrome Markers Paint/Weathering Featured Models Tamiya Motorcycles Vallejo Paints Brushes
Main Page for All the Model Builds and Review/Guides Model Builds
Models Currently on the Go:
Monogram: #2791 Valvoline
March Indy Car 1/24
Tamiya: #14006 Honda CB750F
Revell: 85-4498 1/24 Land
Rover Series III 109 Long Wheelbase
Completed Builds:
soon, with video
Build Links:
Tamiya: #14006 Honda CB750F
Paint Pens instead of Brushes? Here
Liquid Chrome Pen Review Here
Molotow vs Bare Metal Foil Here
Quick Info:
Molotow on Amazon: https://amzn.to/3fEa8df
Approx Price: Under $20
Tamiya Model on Amazon:
Honda CBR750 #14006
Approx Price: Under $50
Most Popular Kits on Ebay


See the first 13 steps on the Molotow Review
Step 14:
All Cleaned up and Ready to
Go again:
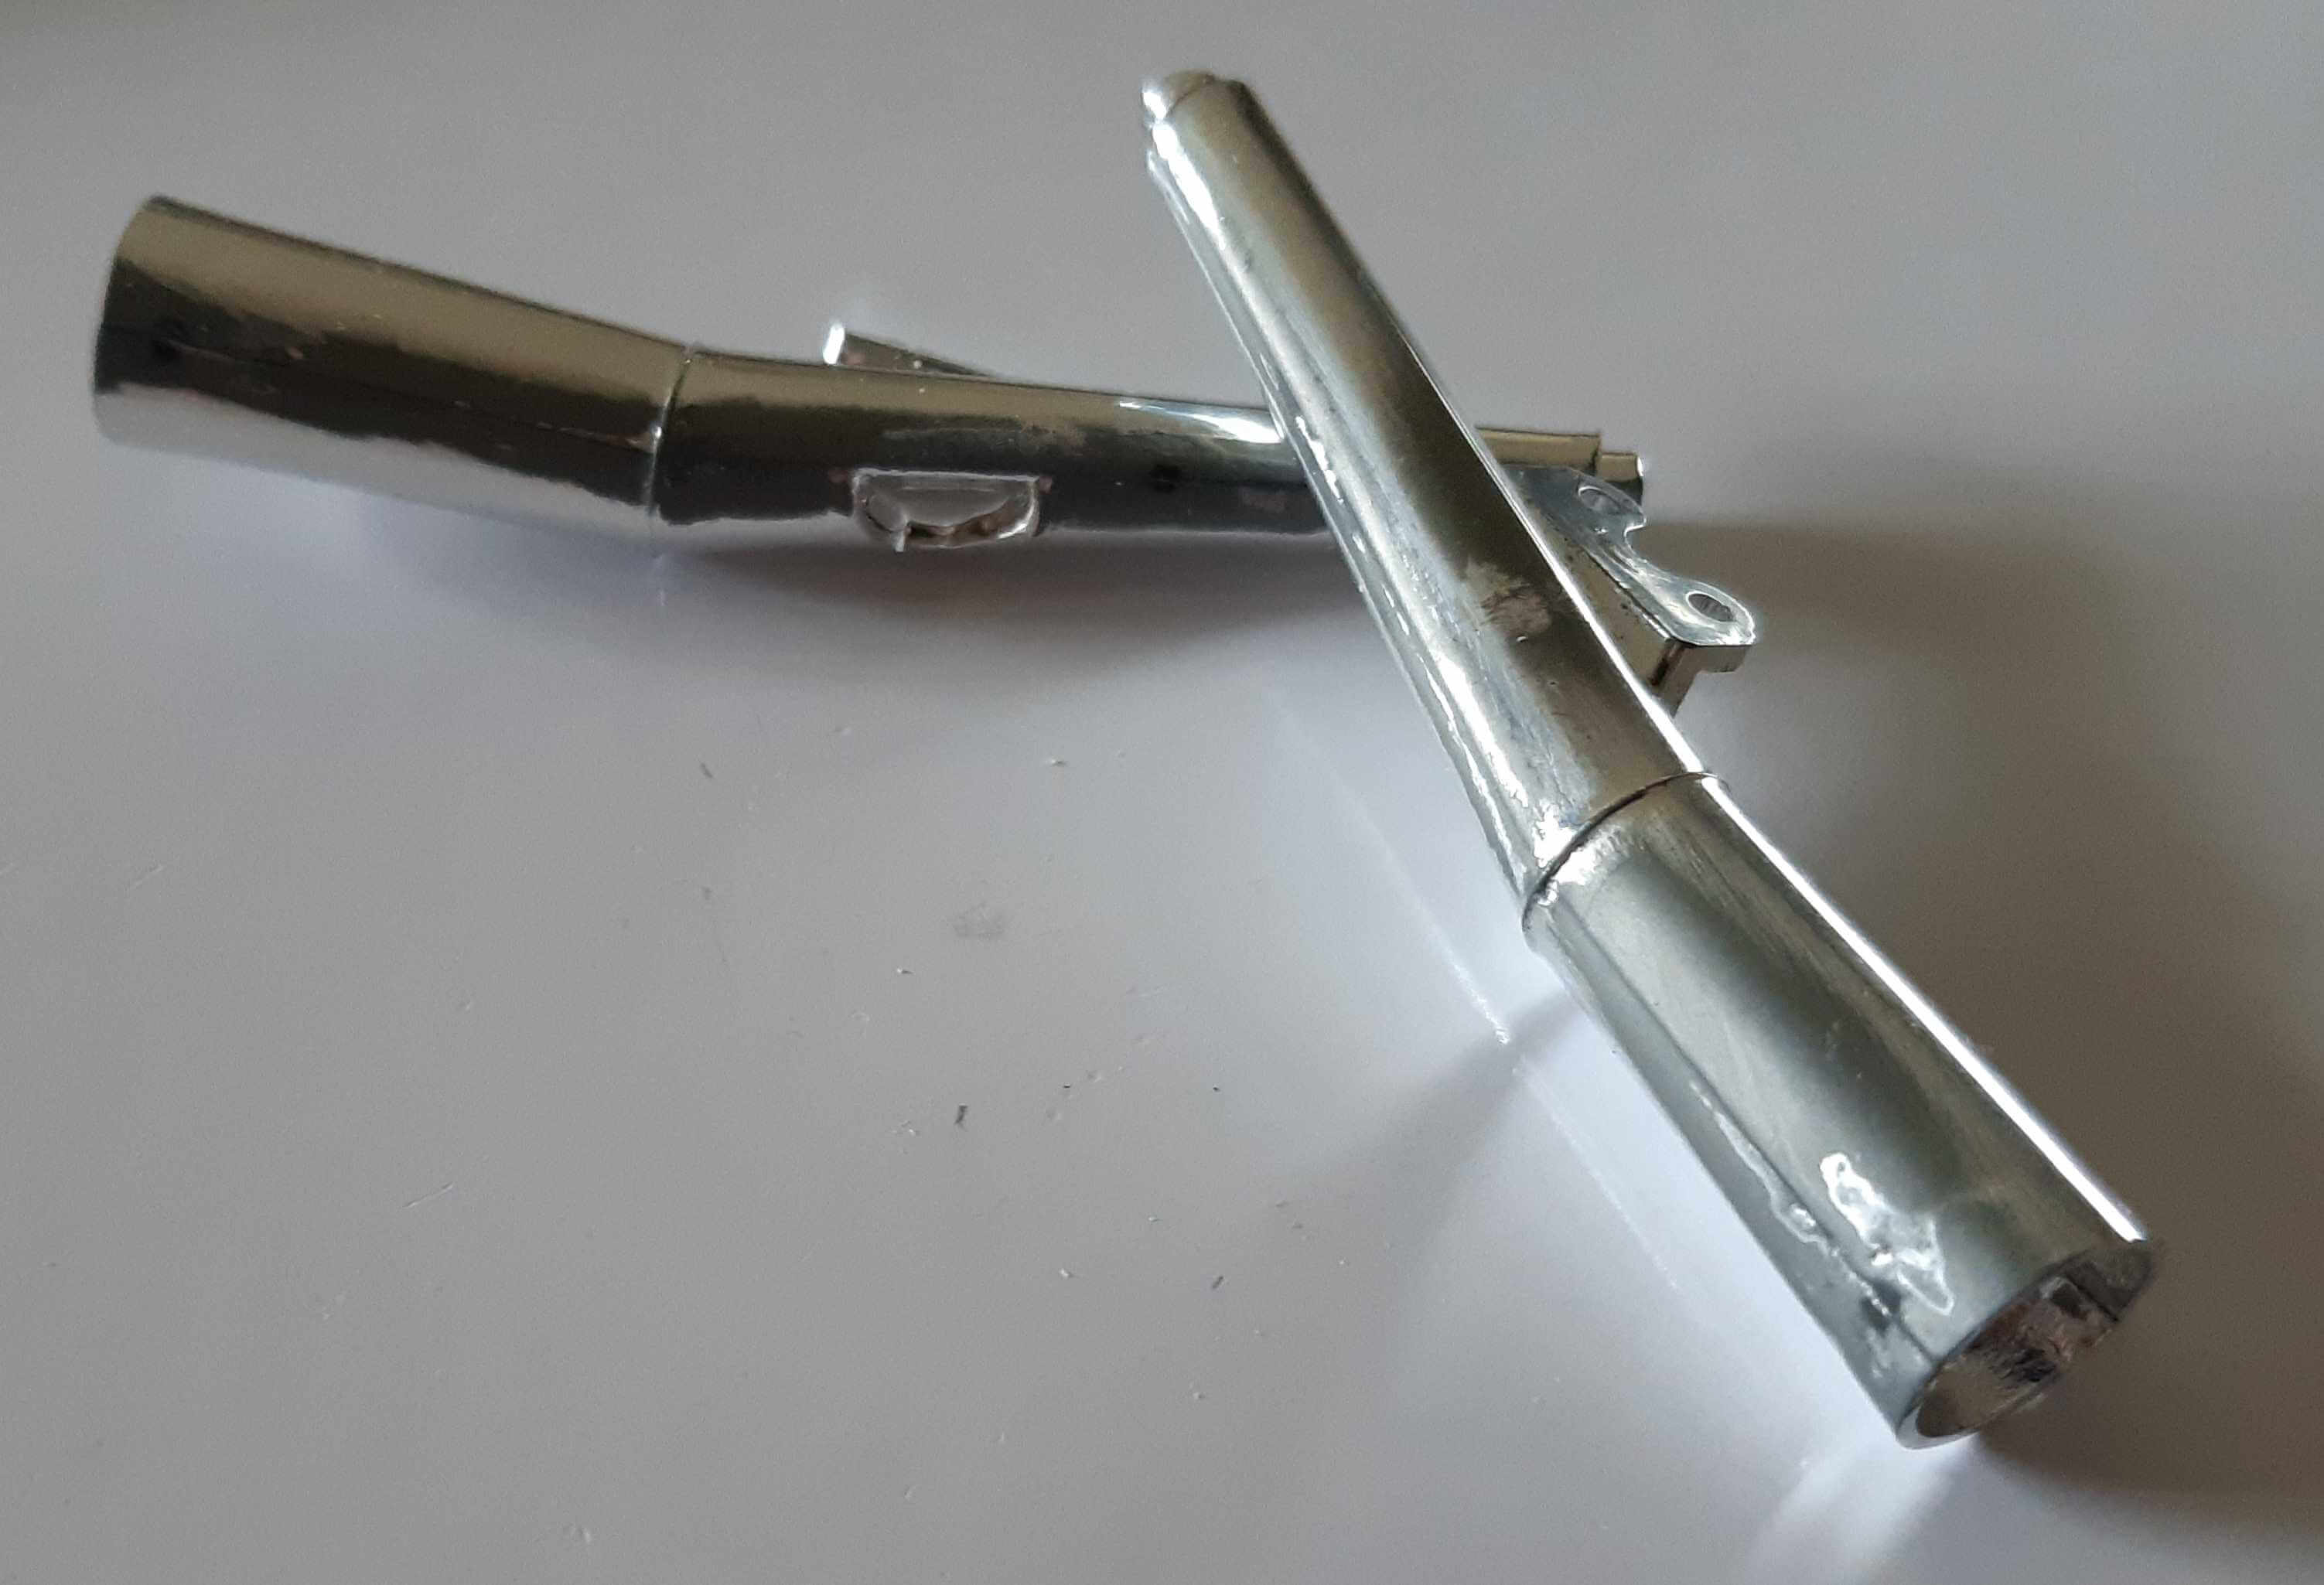
After a mediocre attempt at the first Molotow Pen try, I decided to do an
Exhaust pipe over and also do one with Bare Metal Foil and see which I liked
Best.
Step 15:
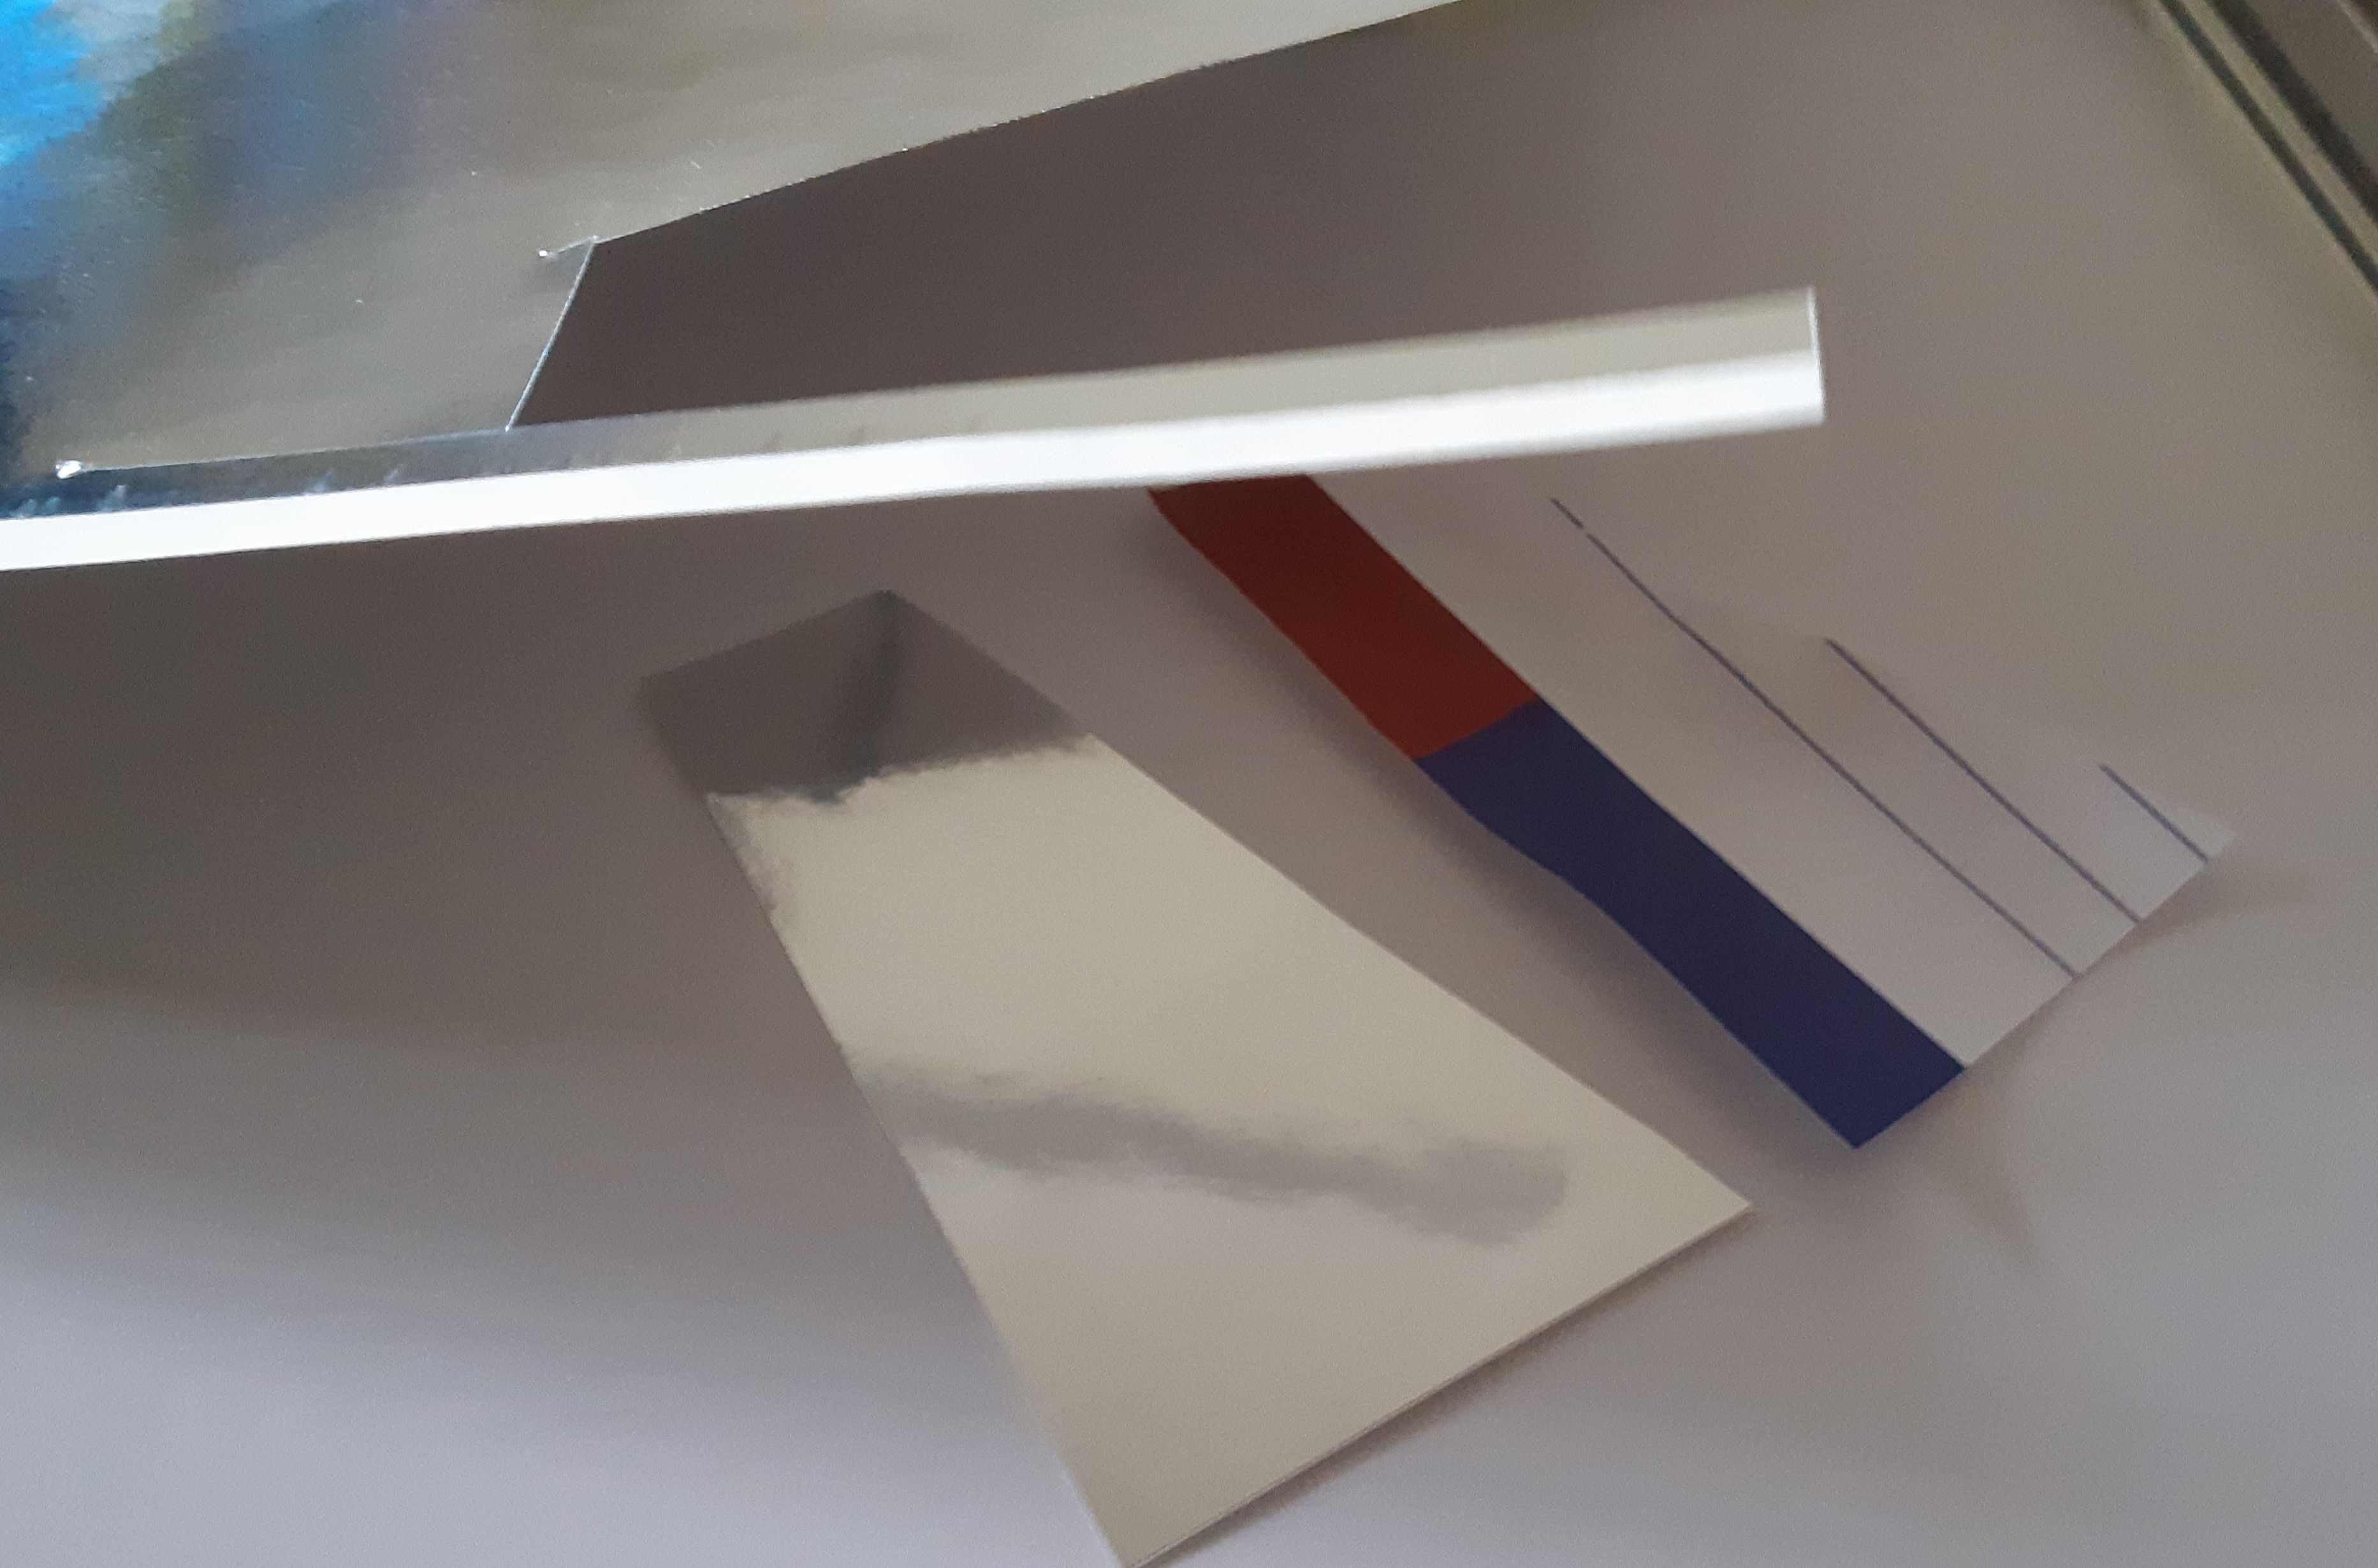
Scrap Paper will give you an
idea :
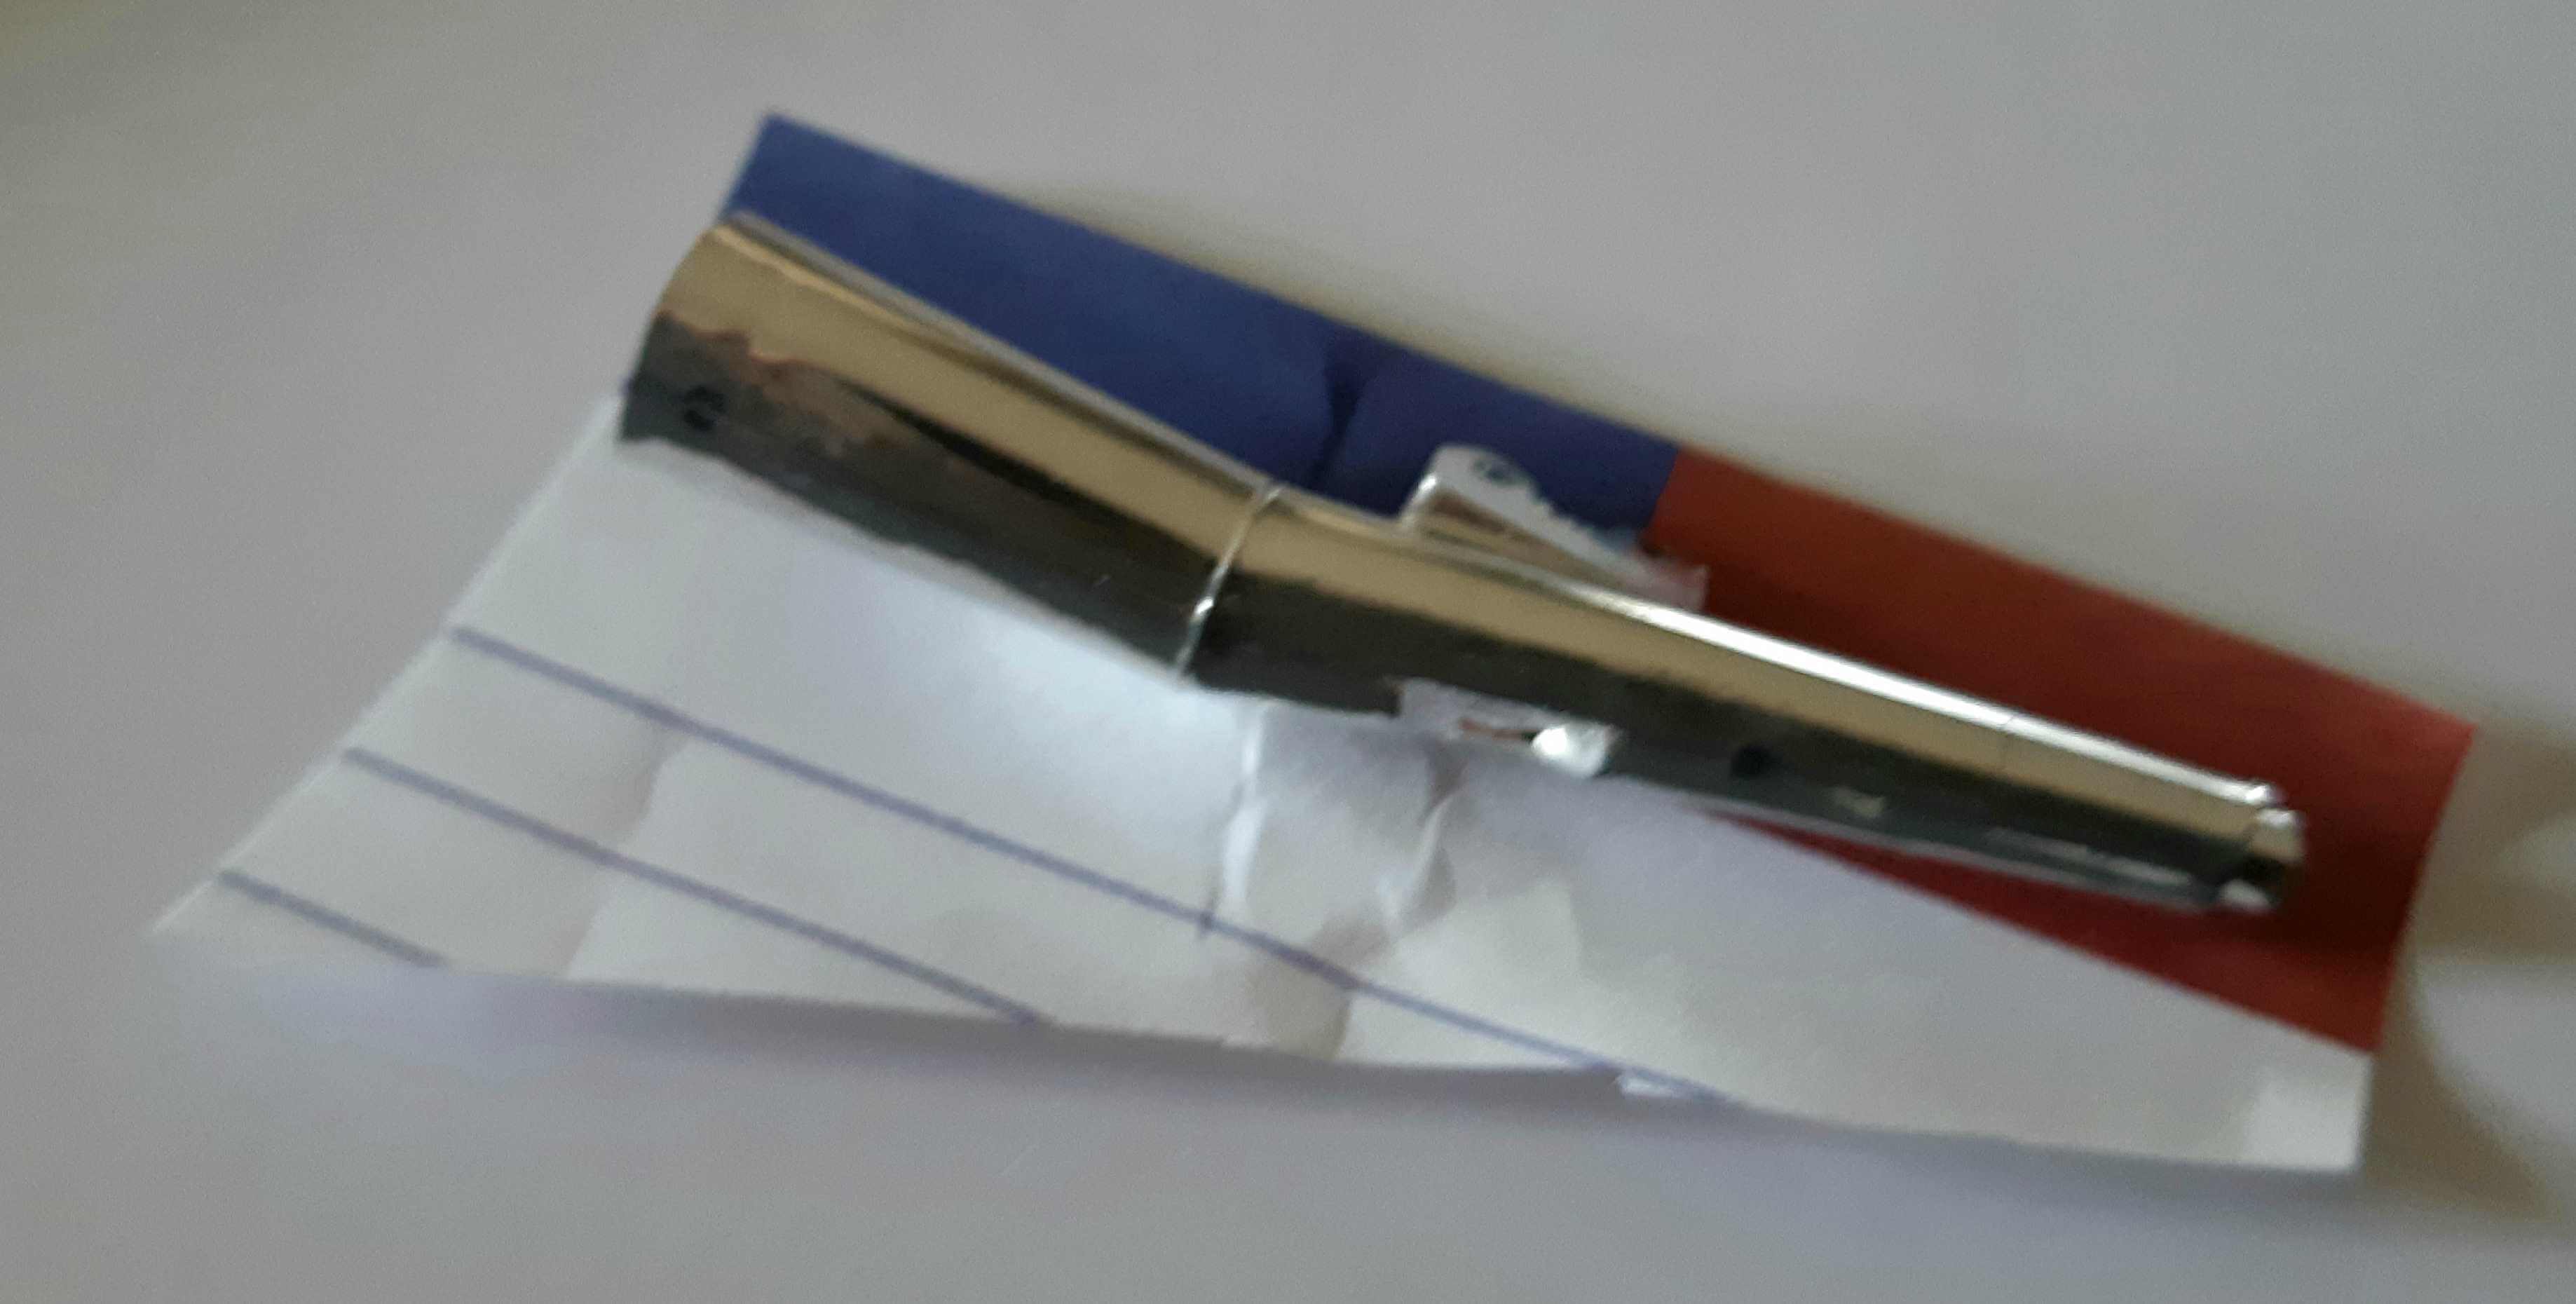
Using scrap paper is a quick way to figure out how much metal foil you need,
this stuff is 10 bucks for a sheet so if your like me you want to get the
most you can from a sheet. I used the Bright Chrome version of BMF (bare
metal foil).
Step 16:
Wow Bare Metal Foil Looks Great:
Burnishing (gently rubbing) the foil lightly with a wooden toothpick makes
the foil adhere nicely to the exhaust, this foil is super thin so clean
up is very important because even fine scratches will show through after
the foil is stuck. Cleaning good beforehand pays off with a great surface
when completed.
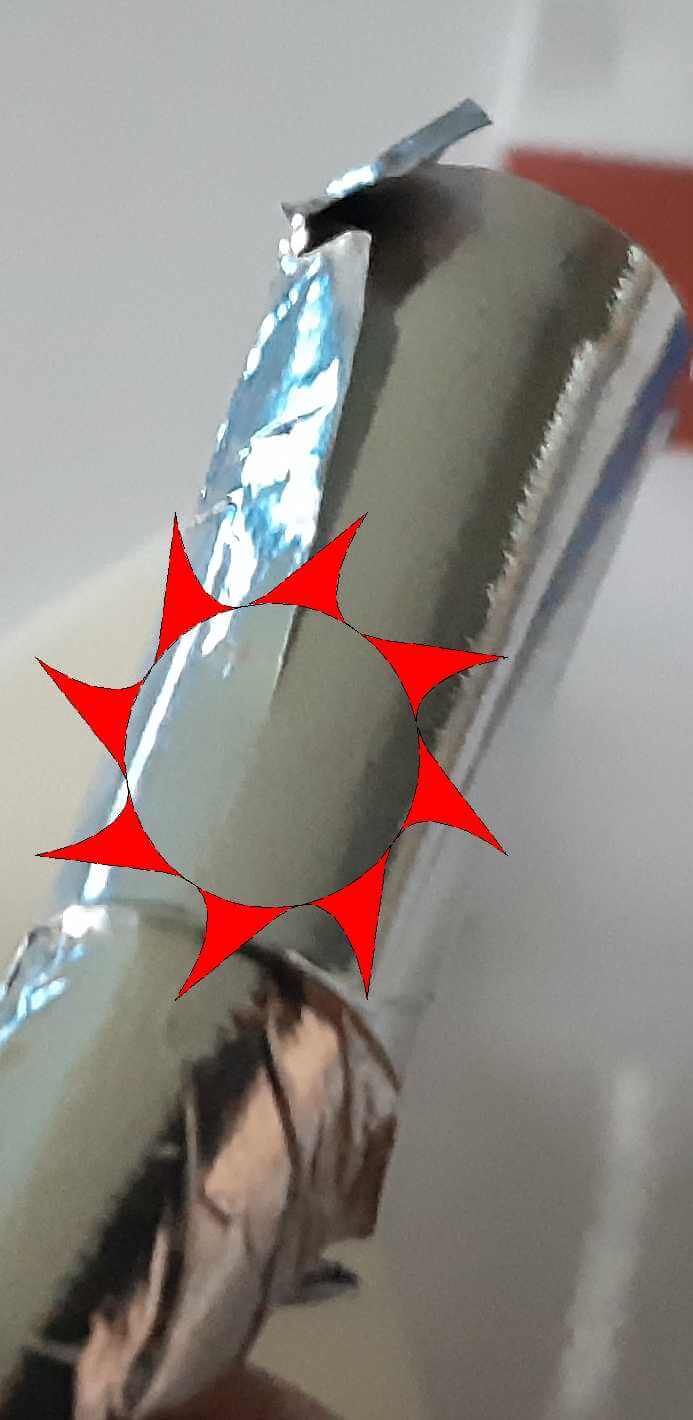
Step 17:
Careful about the edges:
From the factory the sheets of bare metal foil have no adhesive a few millimeters
from the edge, you can see I left that part attached and used fully adhesive
backed piece for my part. This stuff burnishes just wonderful and I'm not
even sure it would matter, but I wasn't taking any chances.
Step 18:
Look how that thin edge just
disappears:
Keep rubbing away and those seems just disappear, and because of that you
don't need to be afraid about using or overlapping pieces.
Step 19:
Wrap it around the edges:
Because there is an endcap that fits inside the pipe I knew I didn't need
to be fancy, just enough to go around the edge and the ugly wrinkly foil
got trimmed later with a sharp new blade..
Step 20:
The Foil shapes into all kinds
of places easily.:

Just like me, this pipe is also suffering from a huge depression, good thing
is the foil didn't care and it conformed in there nicely, I did use a couple
pieces of scrap but they blended away to become invisible..
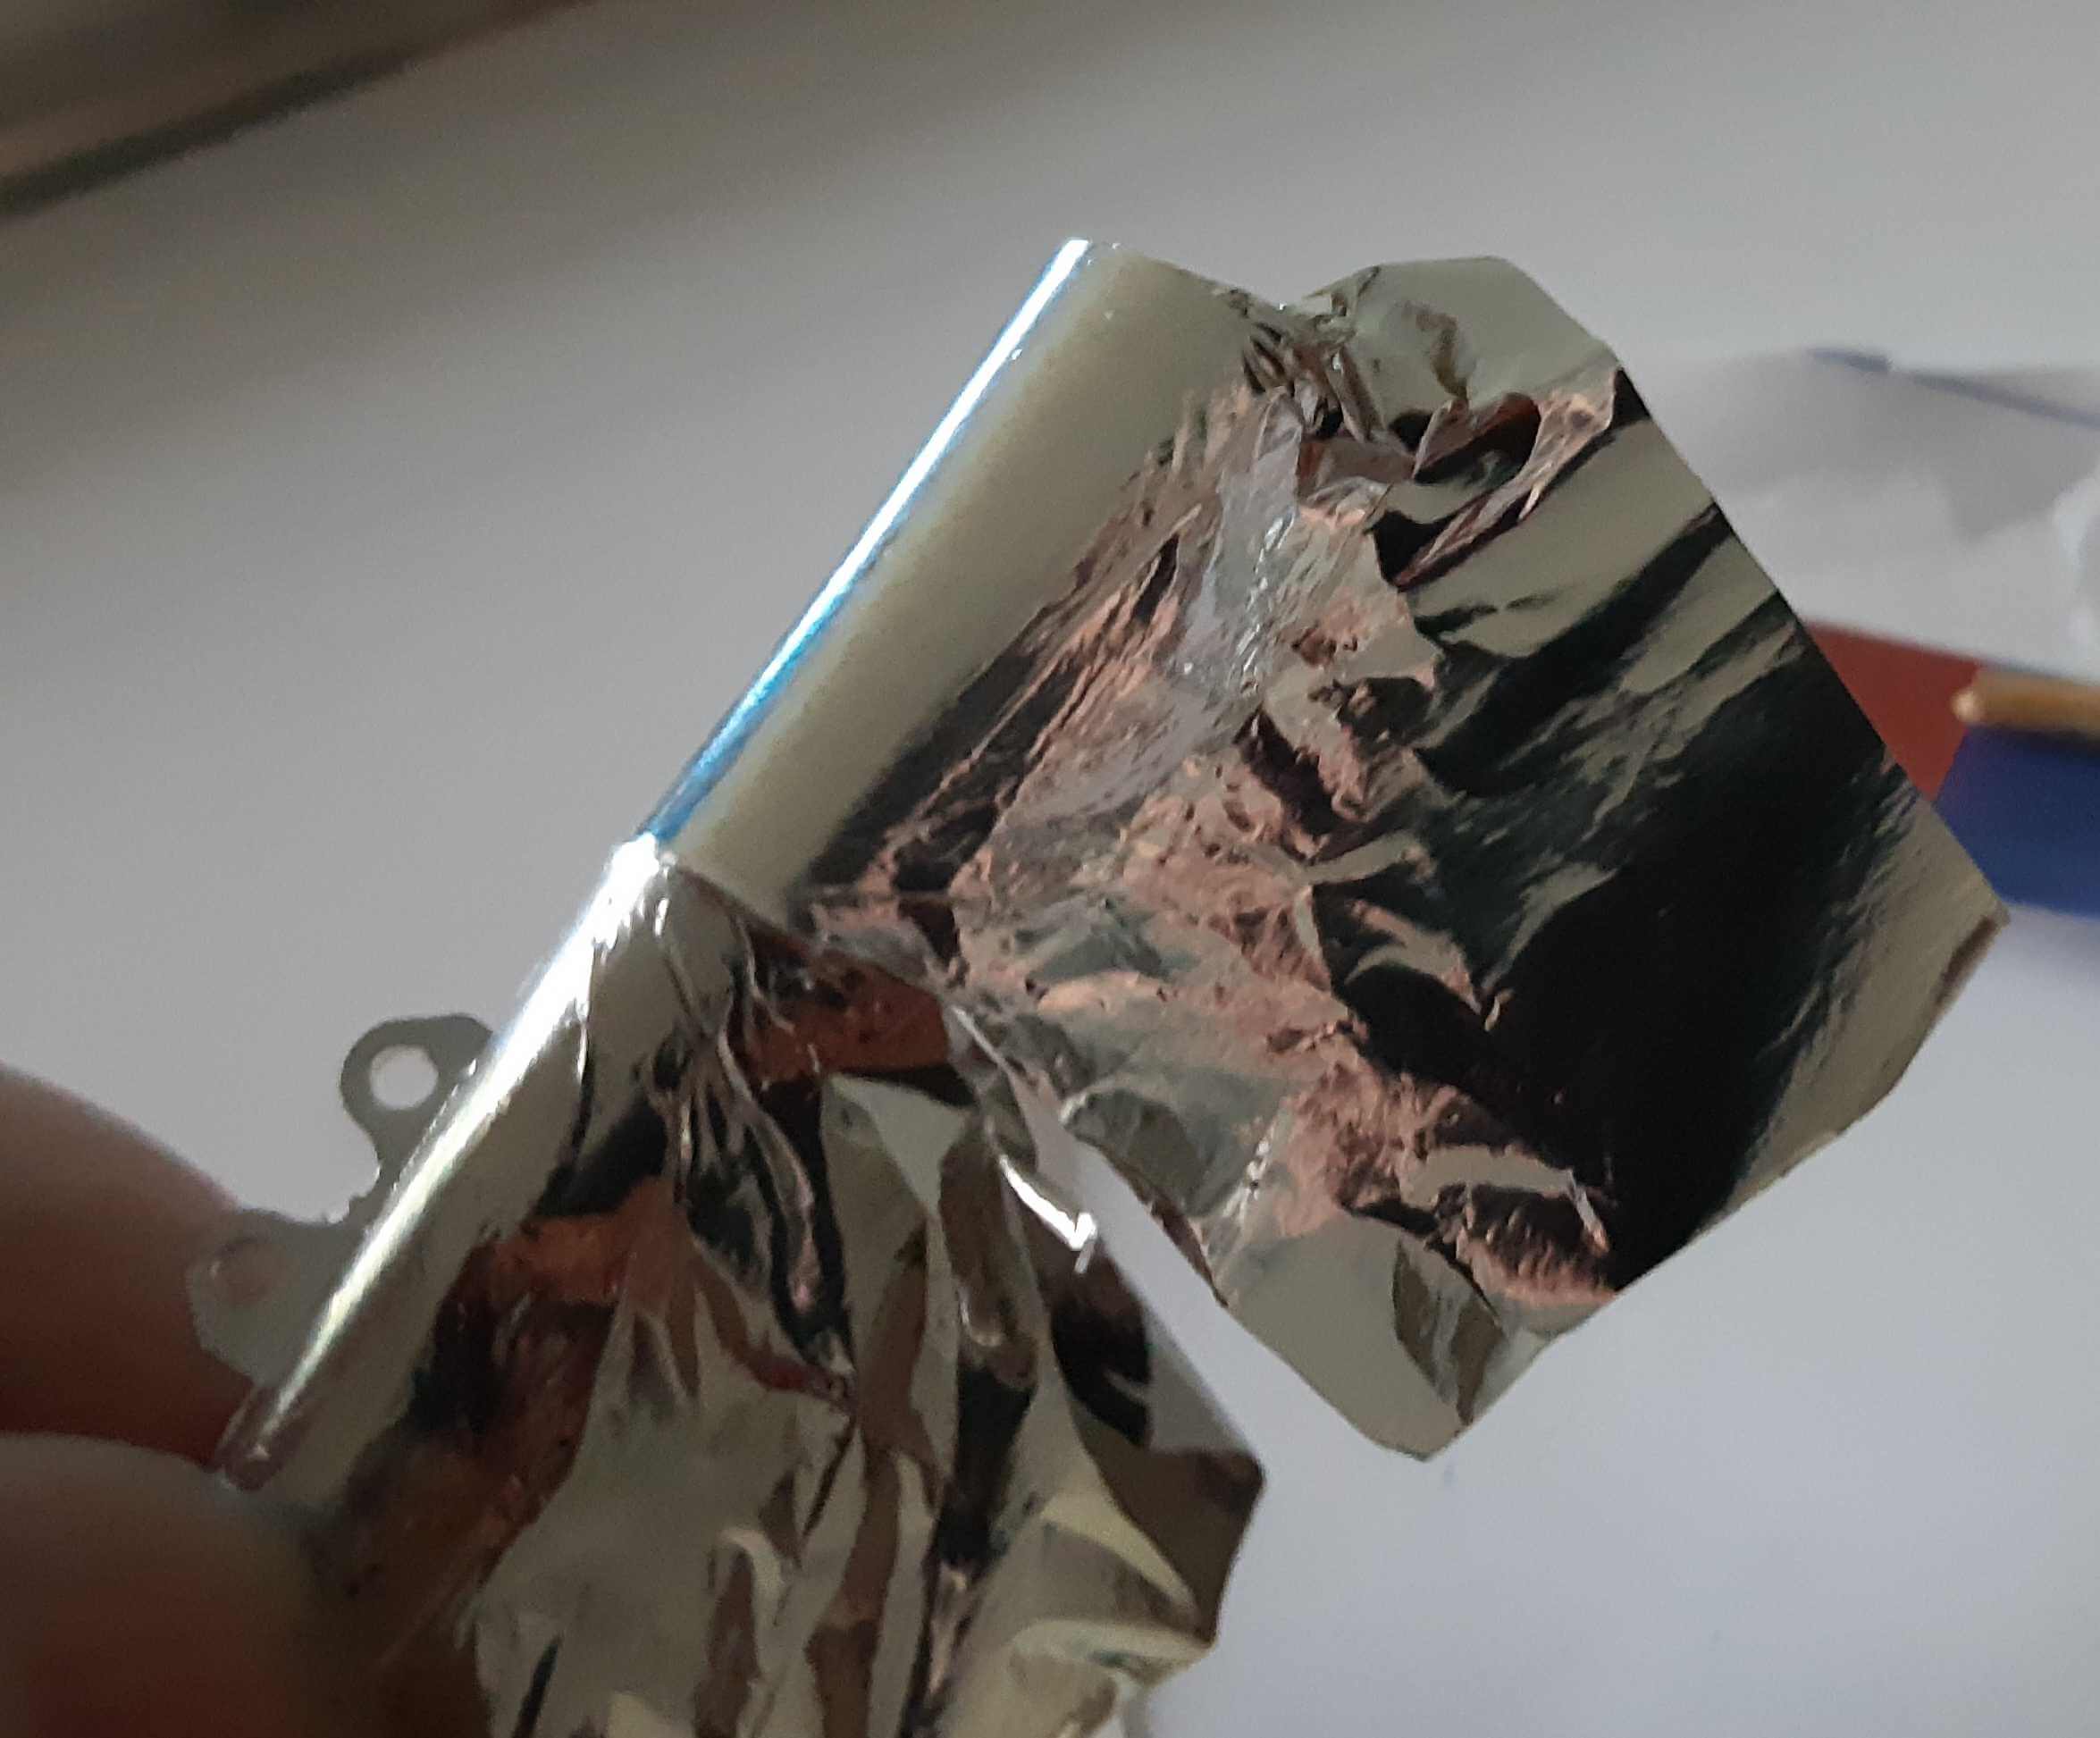
Step 21:
Top one is Molotow - Bottom
is BMF:
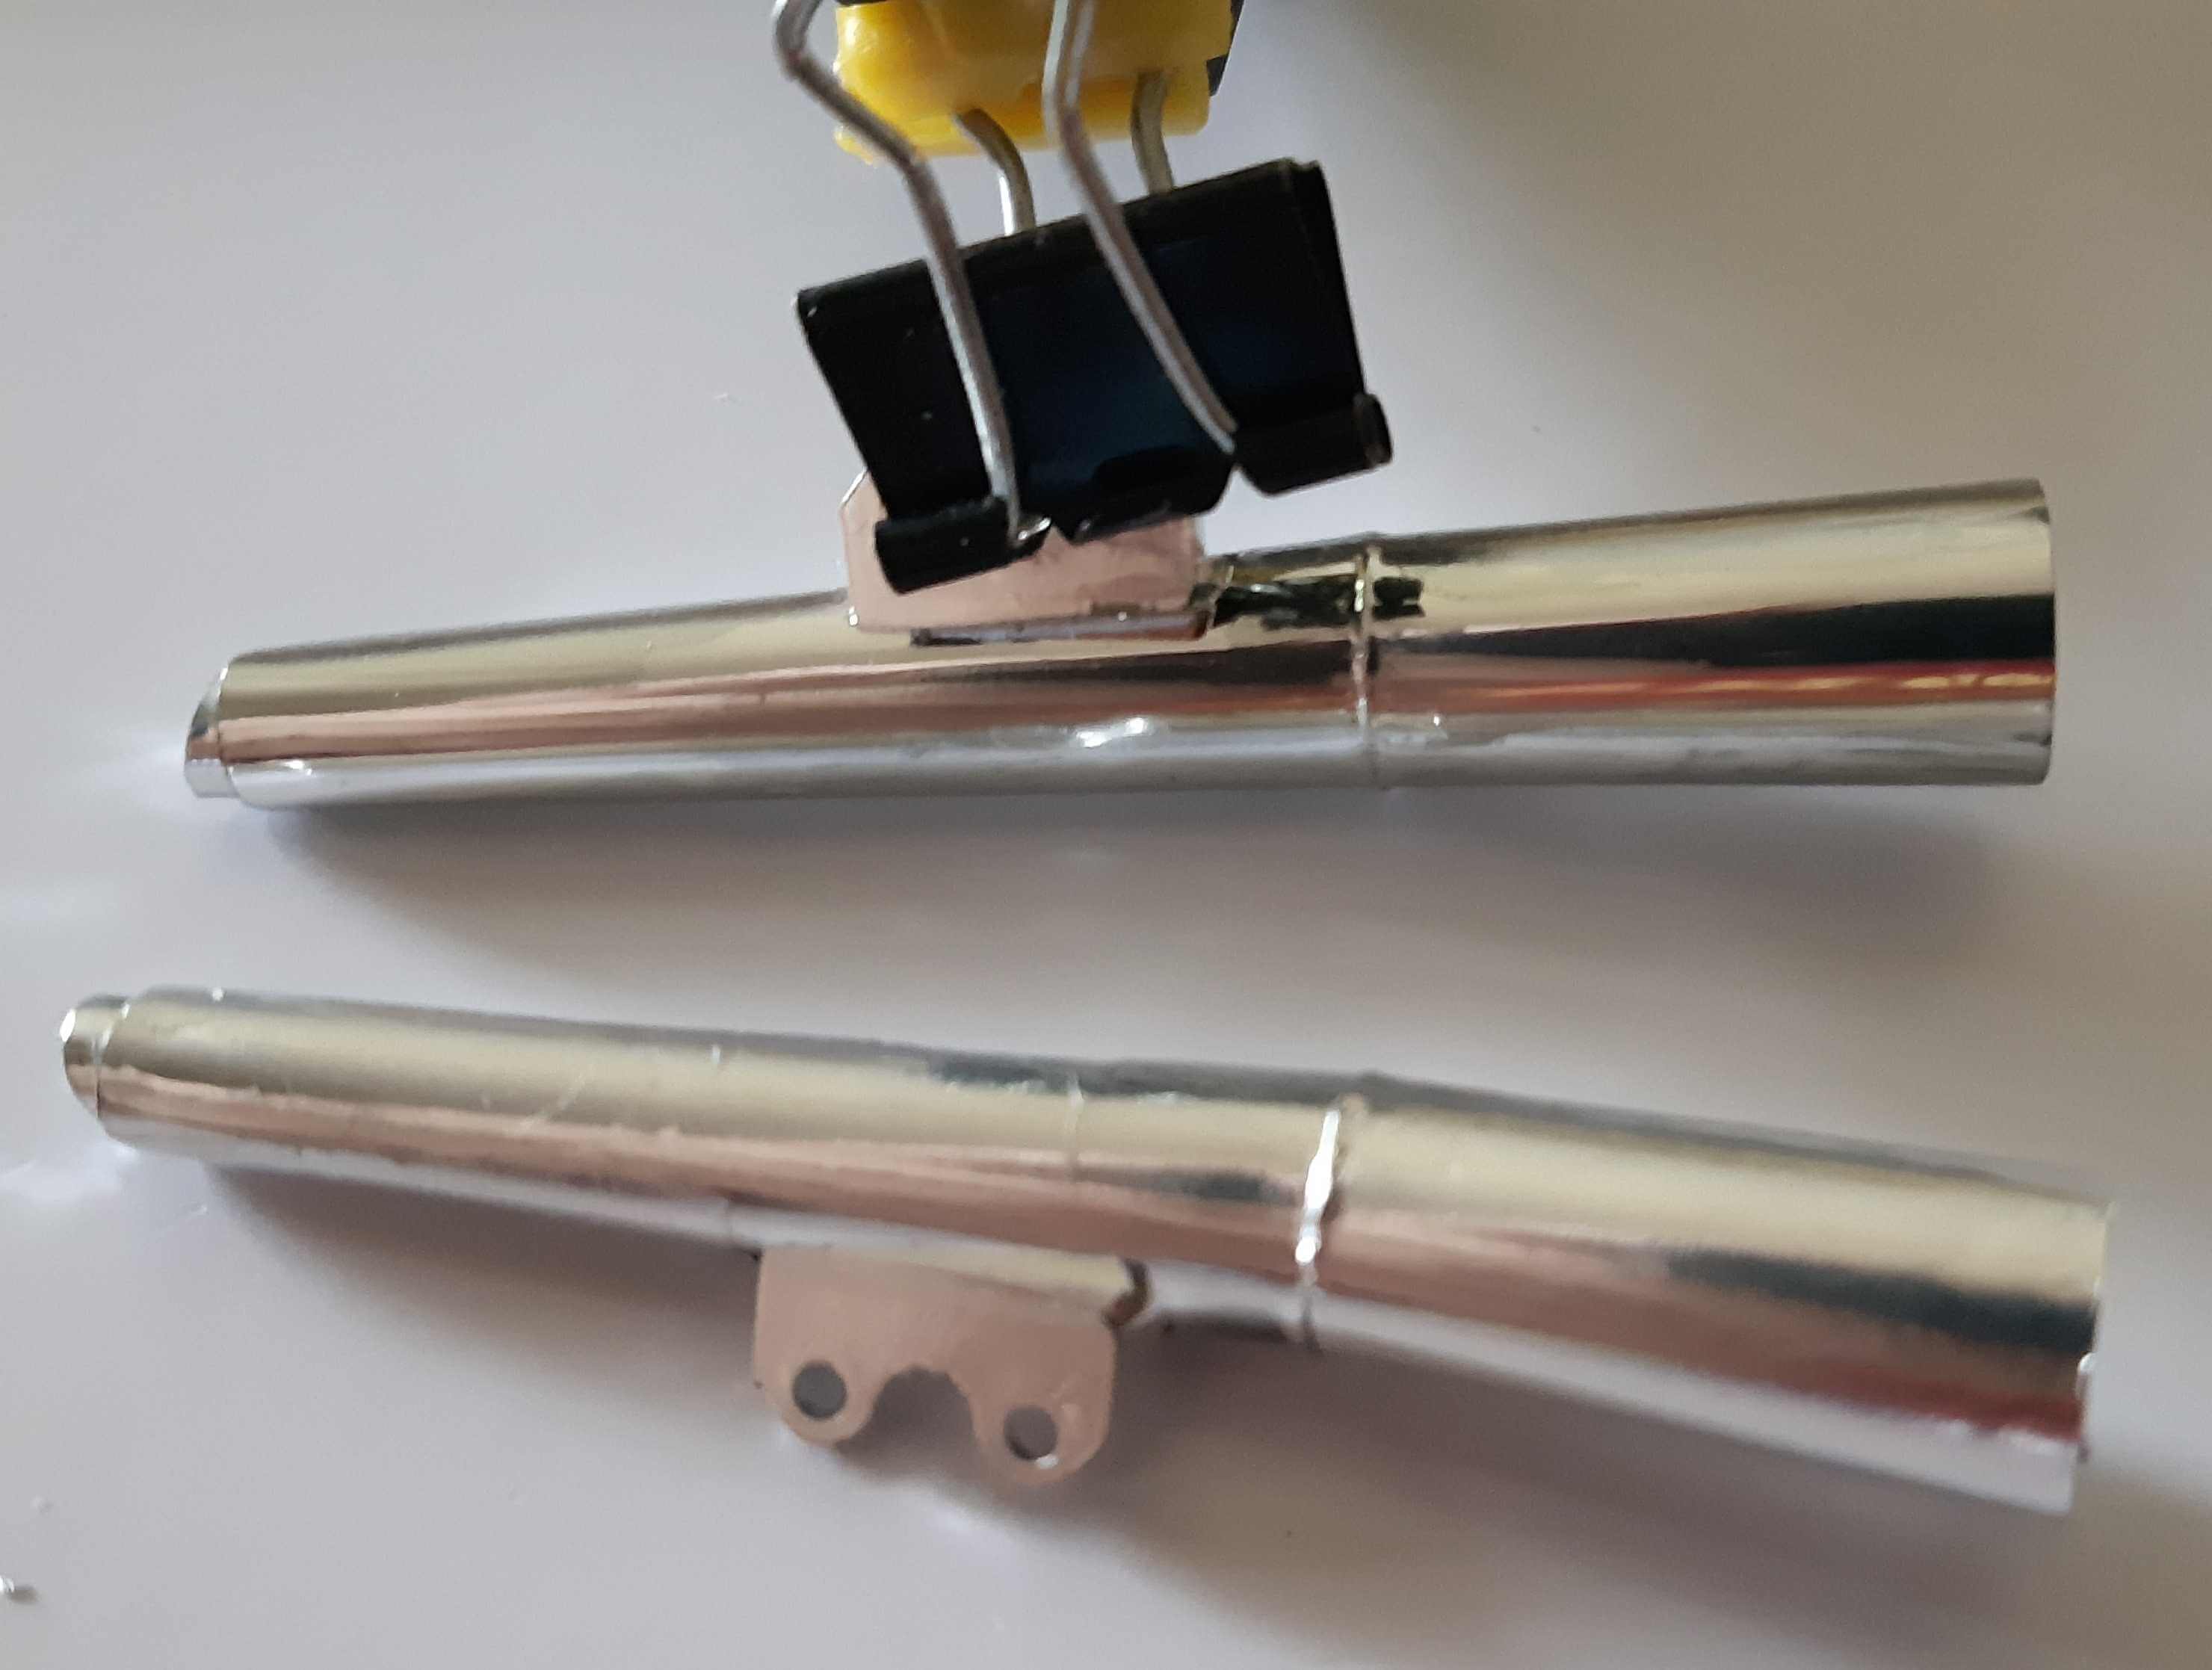
Final words - Molotow is great for small little things you want to highlight
like bolt heads and little details here and there but not great for larger
smooth surfaces. The BMF is much more forgiving and ends up with just a
solid job that I believe would be more durable, both look good under a clear
coat. I plan on smoothing out the one in molotow and finishing it with the
foil so both pipes will end up on the model as foil covered.
This Motorcycle model is coming along nicely, watch the main page for more as I plan on releasing a few steps for several models over the next few weeks. My Indy car is on the final decal stage and will need an entire site and video made for it, I have so many cool models in the pile the hardest thing will be for me to decide what to do next, Possibly might be a Model A ford that has fewer parts and should move along quickly but I have a sweet helicopter, a cool staff car, some nice nascar, a hot rod, and a sick 1/9 scale Army motorcycle.
Buy it Now Kits and More


Home Checklists Releases Search Ebay Ninja Reddit
© Breakninja.com - 2025